Enabling E-Ink Display on Raspberry Pi Zero 2W with Yocto
A step-by-step guide to enabling the SPI interface and configuring Yocto recipes for E-Paper displays
February 5, 2026
Enabling E-Ink Display on Raspberry Pi Zero 2W with Yocto
In a previous post, I enabled the GT911-based touchscreen I purchased and modified the meta-jooojub-rpi layer.
Following that, in this post, I'll enable the E-Ink display.
1. Hardware Setup
As mentioned in the previous post, I purchased the GDEY075T7-T01 product.
- GDEY075T7-T01: https://www.good-display.com/product/483.html
For the E-Ink display controller, I used a
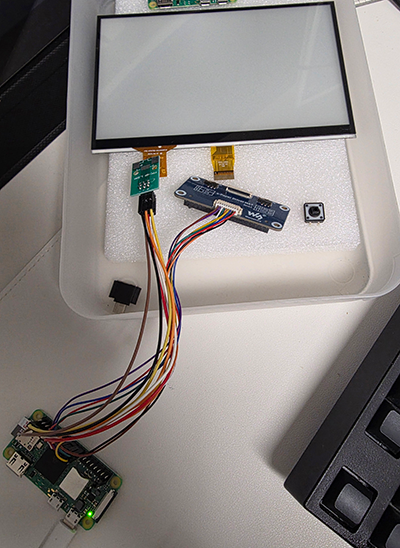
Waveshare e-paper driver HAT I already had.2. Modifying Yocto Recipes
Fortunately, the
As long as the SPI connection is solid, all that's left is proper initialization and control.
The existing Waveshare test code should work without any issues.
E-Paper Driver HAT I own doesn't require a separate kernel driver.As long as the SPI connection is solid, all that's left is proper initialization and control.
The existing Waveshare test code should work without any issues.
Since SPI and GPIO control via Python are required, I'll add the relevant packages to the Image Recipe.
recipes-core/images/jooojub-rpi0-2w.bbbitbake
Upon building, Yocto throws errors stating that the
python3-gpiozero and python3-lgpio packages cannot be found.Missing or unbuildable dependencysh
The
In this situation, I decided to add
Since these are simple packages, creating buildable
python3-gpiozero package is in meta-homeassistant, but I couldn't find a source for the python3-lgpio package.In this situation, I decided to add
.bb files for the gpiozero and lgpio recipes directly to meta-jooojub-rpi.Since these are simple packages, creating buildable
.bb files was straightforward.recipes-devtools/python/python3-gpiozero_2.0.1.bbbitbake
recipes-devtools/python/python3-lgpio_0.2.2.0.bbbitbake
Finally, by adding the configuration to use
SPI_BUS and ensuring the spidev kernel module is automatically loaded (insmod) in the Distro file, the build preparation is complete.conf/distro/rpi0-2w.confbitbake
3. E-Ink Display Test
Using the image built with the modified recipes, I tested the E-Ink display by adapting the sample code provided by Waveshare.
SPI communication works well, and the display output functions perfectly.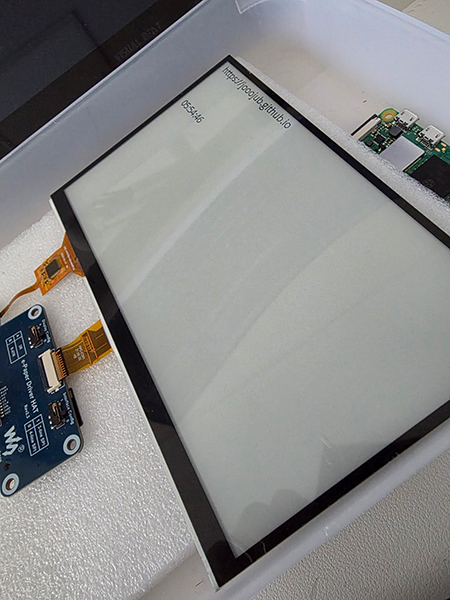
SPI communication works well, and the display output functions perfectly.
4. Next Steps
Setting up the E-Ink display via SPI was completed without much difficulty, thanks to the existing Waveshare HAT and sample code.
Next, I'll use an overlay called
gpio shutdown to enable turning the board on and off using a Tact Switch.